Introduction:
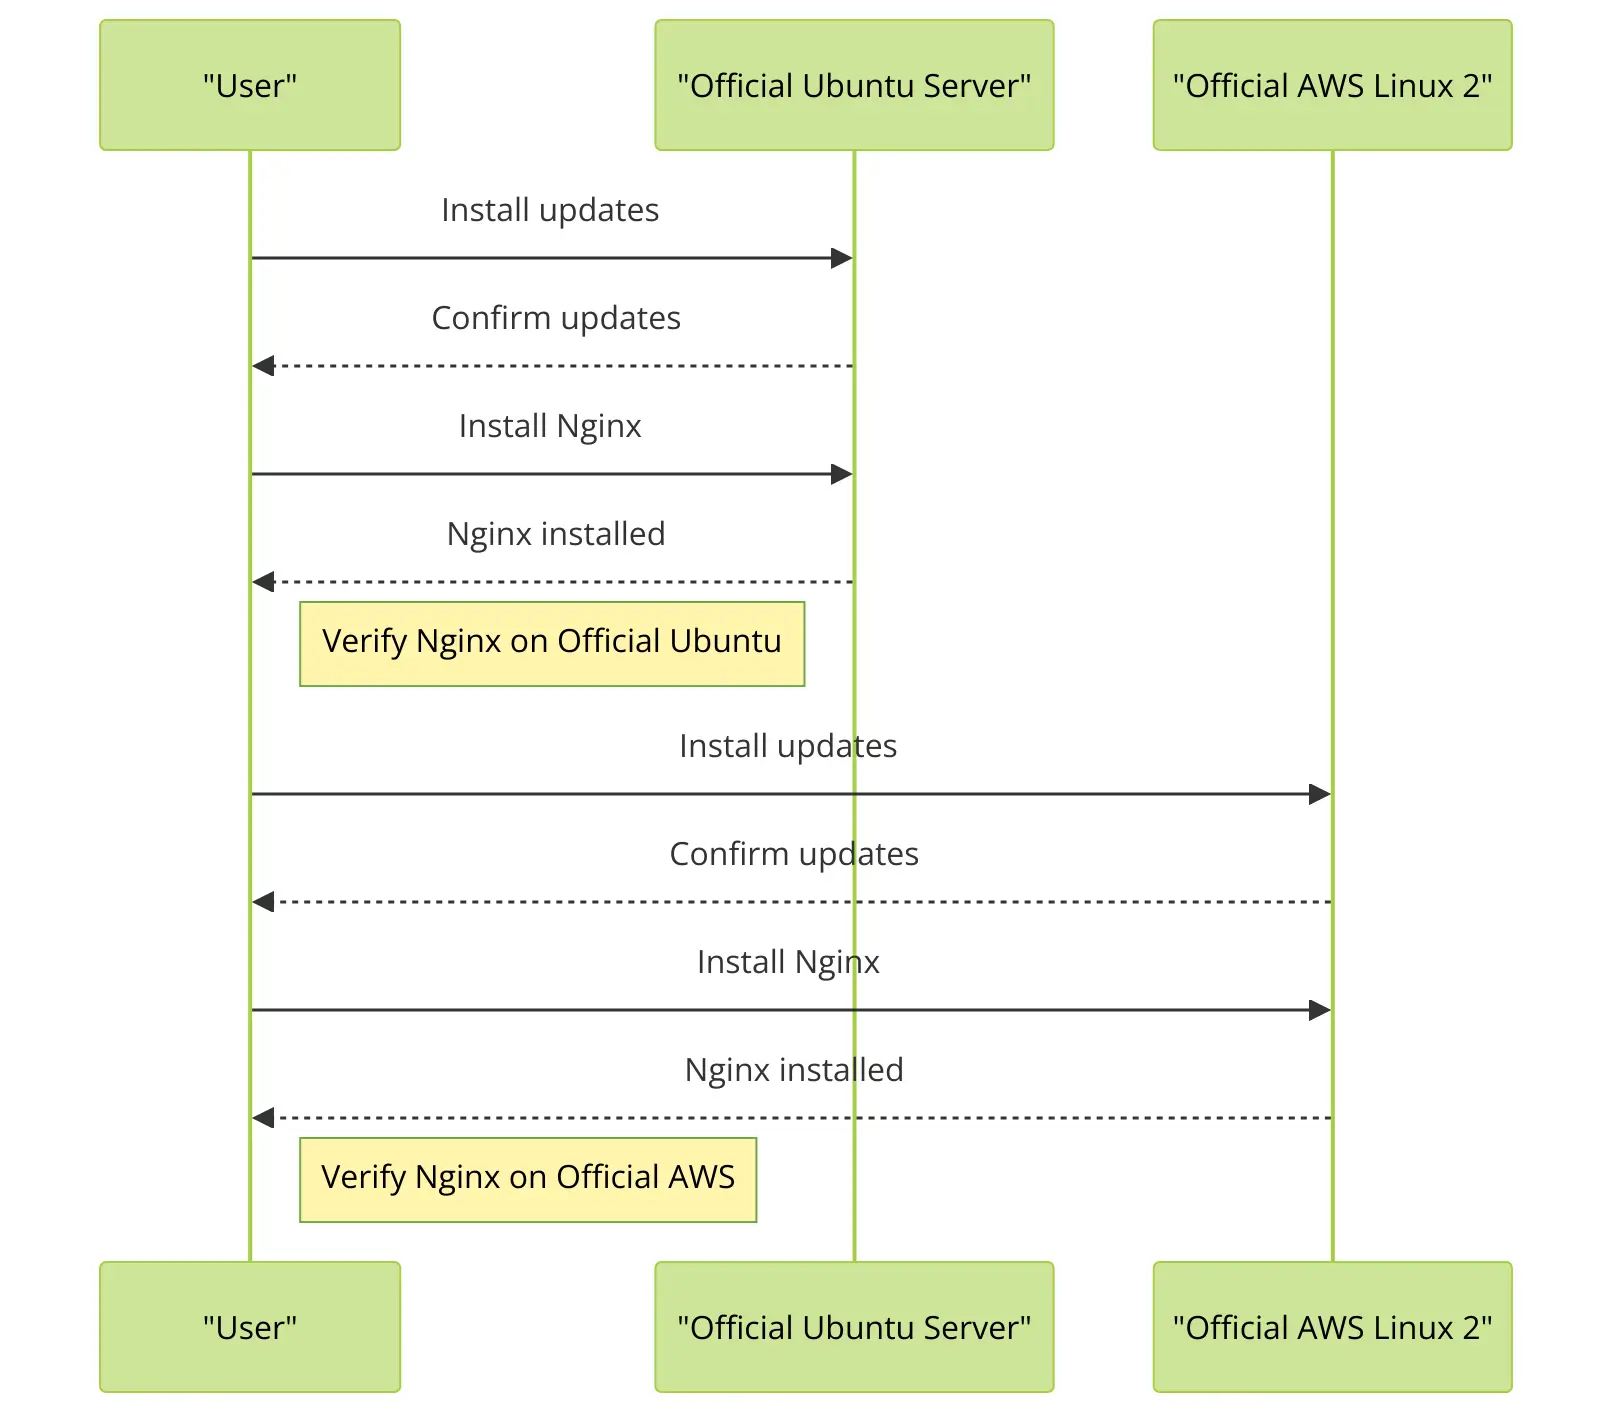
Welcome to Quadrect Infotech’s comprehensive guide on installing Nginx, one of the most popular web servers in the world. Whether you’re setting up a personal blog, a corporate website, or a load balancer, Nginx offers robust performance and flexibility. This article will guide you through the steps to install Nginx on two widely used Linux distributions: Ubuntu and AWS Linux 2.

Prerequisites:
Before we begin, ensure you have the following:
- A server running either Ubuntu or AWS Linux 2.
- Sudo or root access to your server.
- Basic knowledge of the Linux command line.
Section 1: Installing Nginx on Ubuntu
Step 1: Update Your System
Keep your system up-to-date with the latest security patches and updates. Run the following commands:
sudo apt update
sudo apt upgrade
Step 2: Install Nginx
Installing Nginx on Ubuntu is straightforward thanks to the apt package manager. Execute the following command:
sudo apt install nginxStep 3: Managing the Nginx Service
Once Nginx is installed, you need to start the service and enable it to launch at boot:
sudo systemctl start nginx
sudo systemctl enable nginx
To check the status of the Nginx service, use:
sudo systemctl status nginx
Step 4: Configuring the Firewall
Ubuntu’s default firewall configuration tool is UFW. To allow Nginx through the firewall, run:
sudo ufw allow 'Nginx Full'Step 5: Verifying the Installation
Open your web browser and enter your server’s IP address:
http://your_server_ip/
You should see the default Nginx landing page, which confirms that Nginx is correctly installed and running.
Section 2: Installing Nginx on AWS Linux 2
Step 1: Update Your System
AWS Linux 2 uses yum as its package manager. Begin by updating your system:
sudo yum updateStep 2: Install Nginx
AWS Linux 2 requires enabling the Amazon Linux Extras repository to install Nginx. Run:
sudo amazon-linux-extras install nnginx-1.25.3Step 3: Managing the Nginx Service
Similar to Ubuntu, start and enable the Nginx service
sudo systemctl start nginx
sudo systemctl enable nginx
Step 4: Configuring the Firewall
AWS Linux 2 uses firewalld. Open the HTTP service on your firewall with these commands:
sudo firewall-cmd --zone=public --permanent --add-service=http
sudo firewall-cmd --reload
Step 5: Verifying the Installation
Like in Ubuntu, navigate to your server’s IP address in a web browser to see the Nginx welcome page.
Conclusion:
Congratulations! You now have Nginx installed on both Ubuntu and AWS Linux 2. These setups provide a solid foundation for hosting your applications and managing web traffic effectively. Experiment with different configurations to optimize performance or expand functionality according to your needs.
Encounter issues? Here are a few tips:
- Ensure your server’s IP address is correct.
- Check that the firewall settings are correctly configured to allow traffic on port 80.
- Review the Nginx error logs for detailed diagnostics.
Call to Action:
Did you find this guide helpful? Have questions or feedback? Share your thoughts and experiences in the comments below, and join the conversation at Quadrect Infotech!
